How to Record a Microsoft Teams Meeting (2026 Guide)
Learn every method to record a Microsoft Teams meeting in 2026—from native recording to AI transcription tools—so you never miss a key moment.
AudioScribe Editorial Team
Showing English content because this locale has no published version yet.
In today's hybrid work and learning environment, capturing the details of a Microsoft Teams meeting is more crucial than ever. Whether you're a professional documenting action items, a content creator sourcing material, or a student preserving a lecture, knowing how to record a Teams meeting is an essential skill. This 2026 guide provides a comprehensive, step-by-step walkthrough of the recording process, covering permissions, best practices, and what to do with your recording once it's saved. We'll also explore how to transform that raw video file into actionable, searchable text.
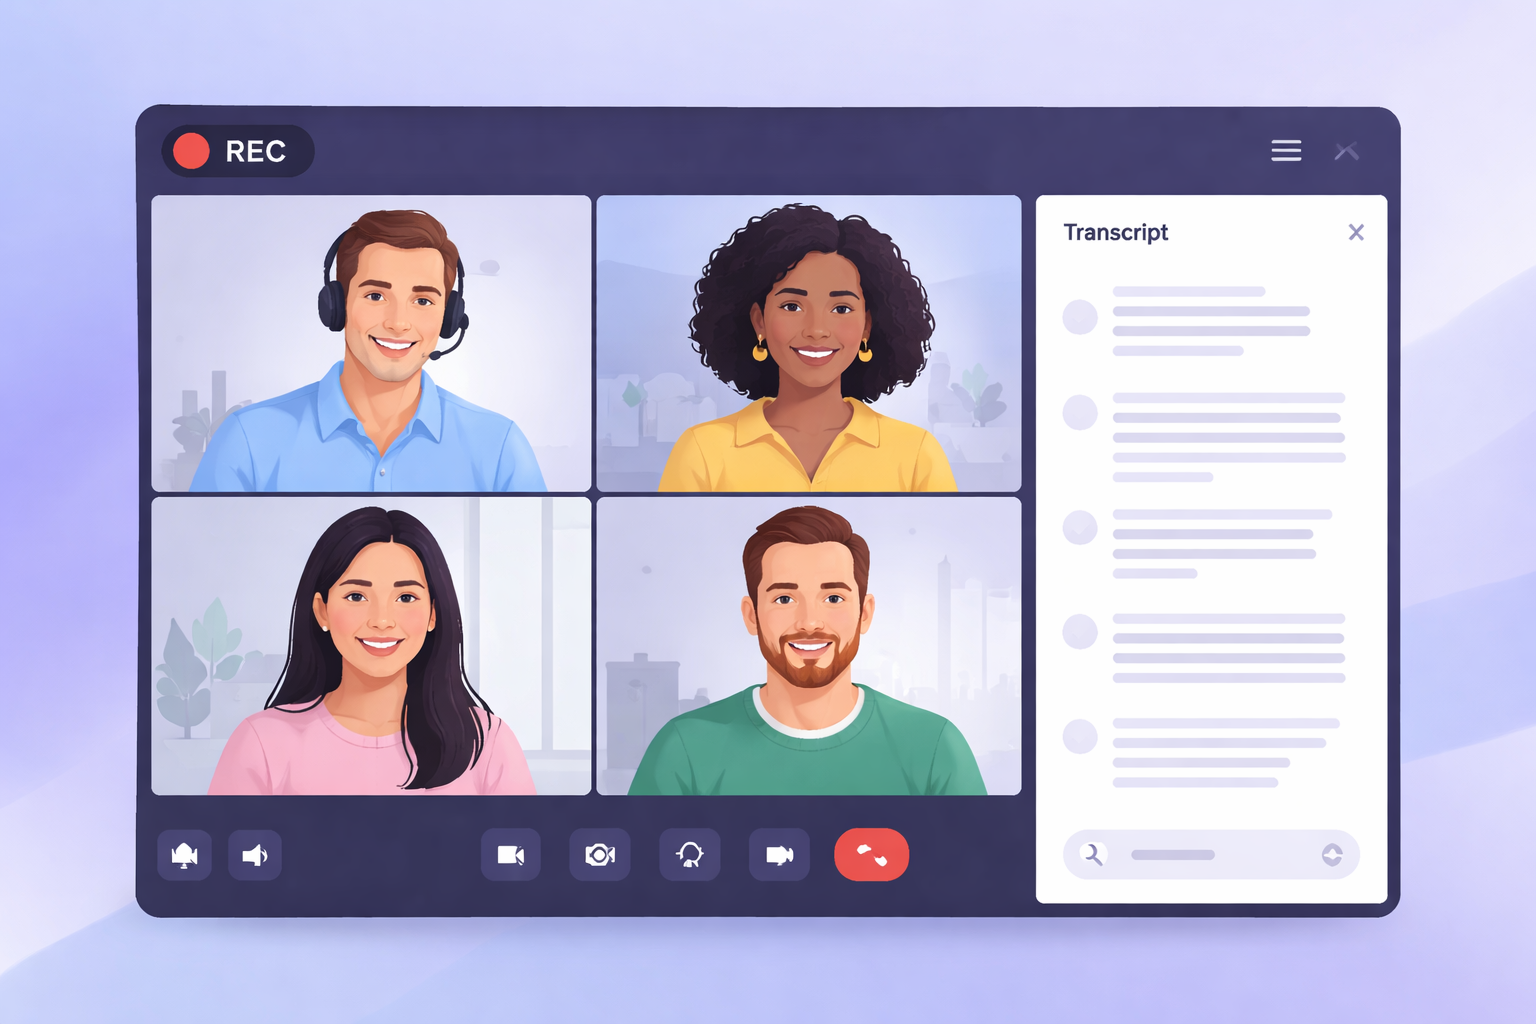
Teams recording controls panel
Understanding Permissions and Prerequisites
Before you hit the record button, it's vital to understand the rules of engagement. Microsoft Teams has specific permission structures to ensure privacy and compliance.
Who Can Record a Meeting?
The ability to record a meeting depends on your Teams policies and your role in the meeting:
- Meeting Organizers & Presenters: Typically, anyone who schedules the meeting or is assigned the "Presenter" role can start a recording.
- Attendees: Those with the "Attendee" role usually cannot initiate recording unless the policy is explicitly set to allow it.
- Administrator Policies: Your organization's IT admin sets the overarching recording policies. Some may disable recording entirely, while others may allow it only for specific users. If you cannot record, check with your IT department.
Legal and Ethical Considerations
Always inform all participants that you are recording the meeting. Microsoft Teams does display a notification to all participants when recording begins, but it's a best practice—and often a legal requirement—to announce it verbally at the start. Obtain consent where necessary, especially in regions with strict privacy laws like GDPR or CCPA.
Step-by-Step: How to Record Your Teams Meeting
The recording interface in Teams is designed to be intuitive. Follow these steps to capture your session.
Starting the Recording
- Join your scheduled Teams meeting.
- Once in the meeting, look for the meeting controls bar (usually at the top or bottom of your screen).
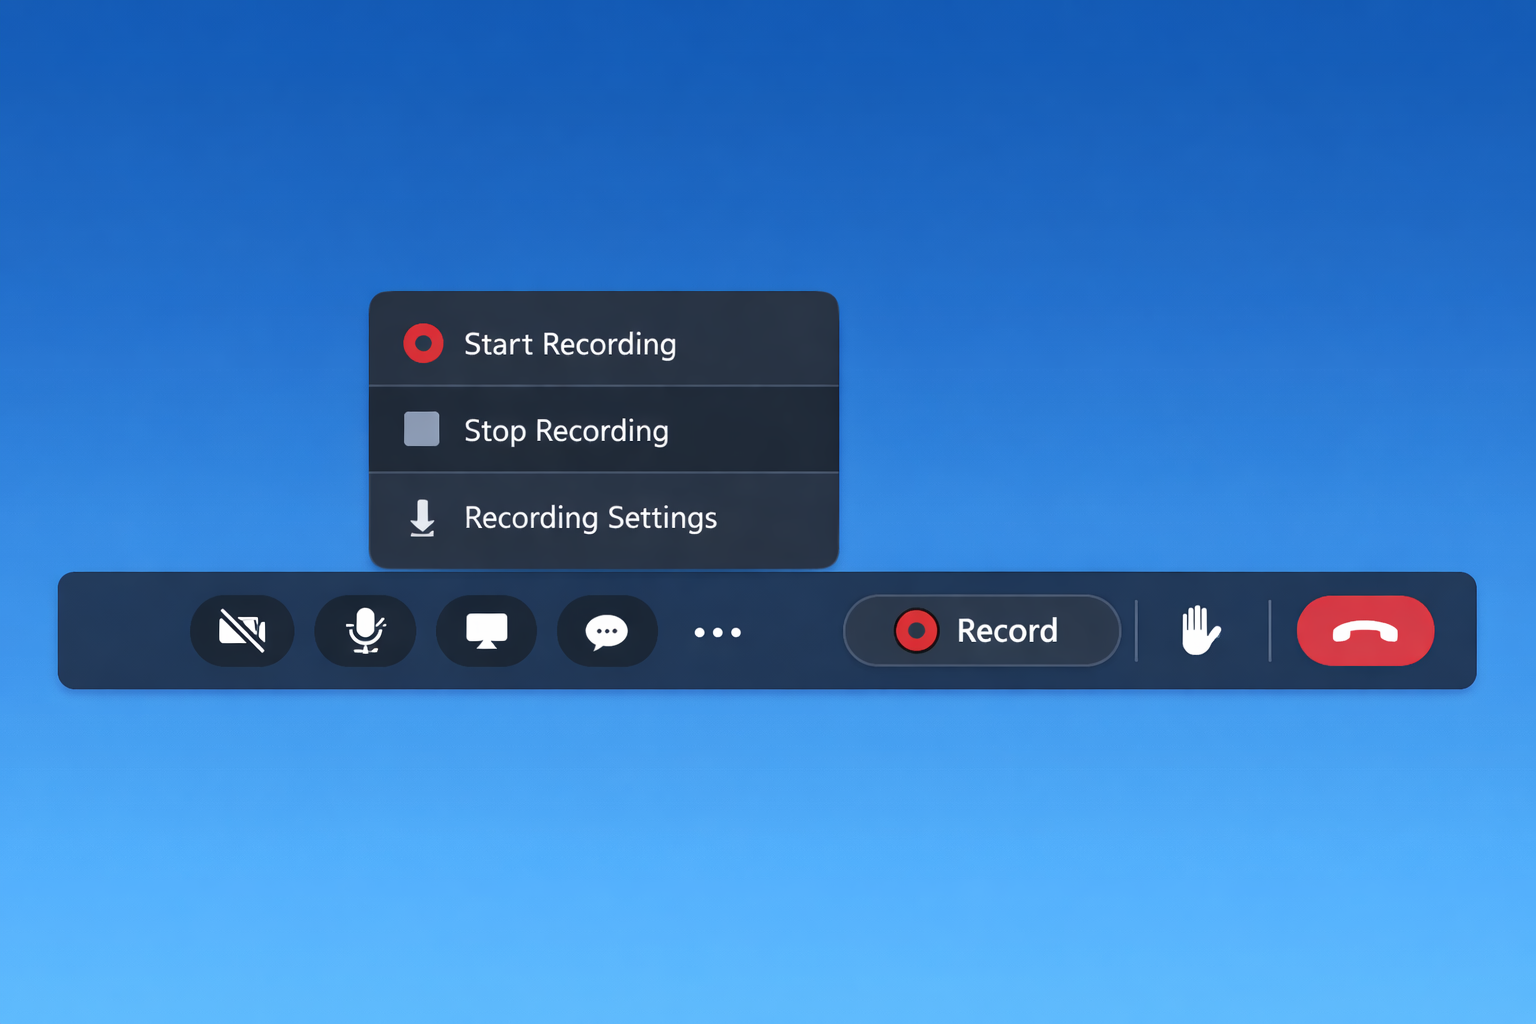
- Click on the "More actions" menu (represented by three dots
).... - From the dropdown menu, select "Start recording." You can also select "Start transcription" simultaneously if you wish to generate live captions.
- A prominent notification will appear for all participants, and a red recording indicator will be visible on the top-left of the screen.
During the Recording
- The recording captures the active speaker's video, shared screens (including PowerPoint presentations), and all audio.
- You can pause and resume the recording from the same "More actions" menu if needed.
- Continue your meeting as normal. The recording happens in the background on Microsoft's cloud servers, so it doesn't consume your local computer resources.
Stopping and Saving the Recording
- To end the capture, navigate back to "More actions" (
).... - Select "Stop recording."
- The recording will automatically stop, and the processing will begin. Do not leave the meeting immediately. Wait for the confirmation that processing has started.
- Once the meeting ends, Teams begins processing the file. This can take some time, depending on the length of your meeting. The recording is saved to Microsoft Stream (on SharePoint or OneDrive, depending on your organization's setup).
Finding and Accessing Your Recording
After processing is complete, here’s where to find your file:
For Channel Meetings
If the meeting was held in a Teams channel, the recording will be posted as a tab within that channel's conversation thread. It is stored in the SharePoint site associated with that team.
For Private/Non-Channel Meetings
For standard scheduled meetings, the recording is saved to the Recordings folder in the OneDrive of the person who started the recording. A shareable link is also automatically posted in the meeting's chat history for all participants to access.
File Format and Details
Your recording will be available as an MP4 video file. You can download it to your local device, share the link, or play it directly in your browser. The file includes metadata like the meeting title, date, and list of participants.
Finding your Teams recording in SharePoint
Best Practices for High-Quality Recordings
A good recording is the foundation for any future use. Follow these tips:
- Optimize Audio Input: Encourage participants to use a headset or microphone to minimize background noise and echo. As the host, your audio is particularly important.
- Share Your Screen Effectively: When presenting, close unnecessary applications and notifications to keep the focus clean. Use PowerPoint's "Presenter Mode" for a professional look.
- Manage Participants: Use the "Mute all" function judiciously to reduce cross-talk and background noise that can muddy the recording.
- Stable Connection: A poor internet connection can lead to a choppy, low-resolution recording. Connect via Ethernet if possible.
What to Do After Recording: From Audio to Actionable Text
A video recording is valuable, but its content is locked inside. To truly leverage the information—creating meeting minutes, extracting quotes, making content accessible, or analyzing discussions—you need the text. This is where transcription tools become indispensable.
Manually transcribing an hour-long meeting can take 5-6 hours. Automated transcription services offer a fast, accurate, and cost-effective solution. By uploading your Teams meeting MP4, you can get a searchable transcript in minutes.
For professionals and creators who need reliable, secure, and accurate transcription, AudioScribe is an excellent choice. It handles various audio and video formats, offers speaker identification, and provides an easy-to-edit transcript interface. Simply download your Teams recording and upload it to AudioScribe to unlock the full text of your discussion, saving you hours of manual work.
Frequently Asked Questions (FAQ)
Can I record a Teams meeting without others knowing?
No. Microsoft Teams is designed with privacy in mind. When a recording starts, a clear notification appears for all participants, and a red indicator is always visible. It is also unethical and potentially illegal to record without consent.
Where is my Teams recording saved?
It is saved to the cloud: either to Microsoft Stream (linked to SharePoint) or directly to the OneDrive of the person who recorded. A link is automatically posted in the meeting chat for easy access by participants.
How long are recordings kept?
This depends on your organization's Microsoft 365 retention policies. Typically, there is no automatic deletion, but admins may set rules. It's best to download important recordings for long-term archiving.
Can I edit my Teams recording?
The native Teams/Stream interface offers basic trimming (cutting from the start and end). For more advanced editing, you will need to download the MP4 file and use video editing software.
What's the best way to get a transcript of my recording?
While Teams offers a live transcription feature, its post-meeting accuracy can vary. For a highly accurate, editable, and shareable transcript, using a dedicated service like AudioScribe is recommended. It can process your downloaded MP4 file quickly and provide a formatted transcript that's easy to turn into meeting notes, blog posts, or social media content.
Ready to turn your recorded meetings into searchable, editable text? Save time and enhance your workflow. Try AudioScribe free at AudioScribe